Rice Cooker Basics, Care & Safety
Rice Cooker Water Ratios: Foolproof Guide for Perfect Texture
7th Oct•5 min read
Consistent, fragrant rice starts with a clean rice cooker. Mineral deposits from water silently degrade performance, causing uneven cooking, off-odors, and shortened appliance life. This isn't just about longevity; it's about protecting the subtle rice cooker aroma your family relies on daily. As a caregiver who tests button layouts and cleanup friction for elders with tender hands, I've seen how mineral gunk transforms reliable machines into stress points. Let's fix that with a how-to descale rice cooker method that takes less than 15 minutes and requires zero fiddling. Because when your rice cooker works quietly in the background, dinner becomes dignity, not a chore.
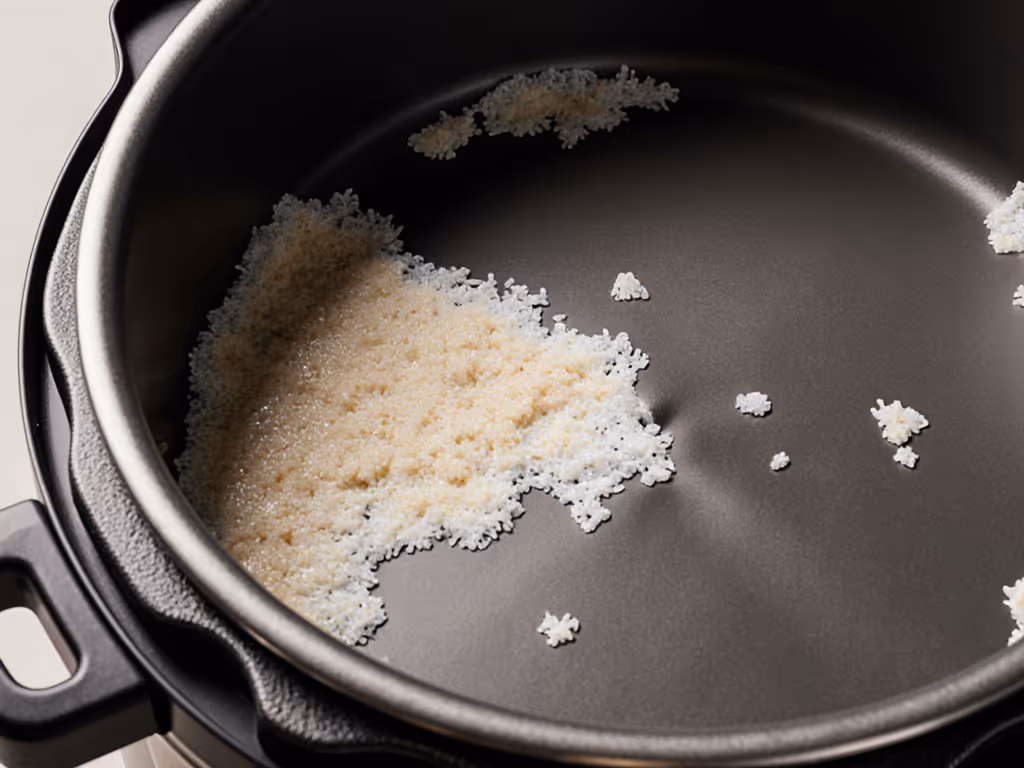
Hard water leaves invisible calcium and magnesium deposits on heating plates and sensors. Over time, this scale:
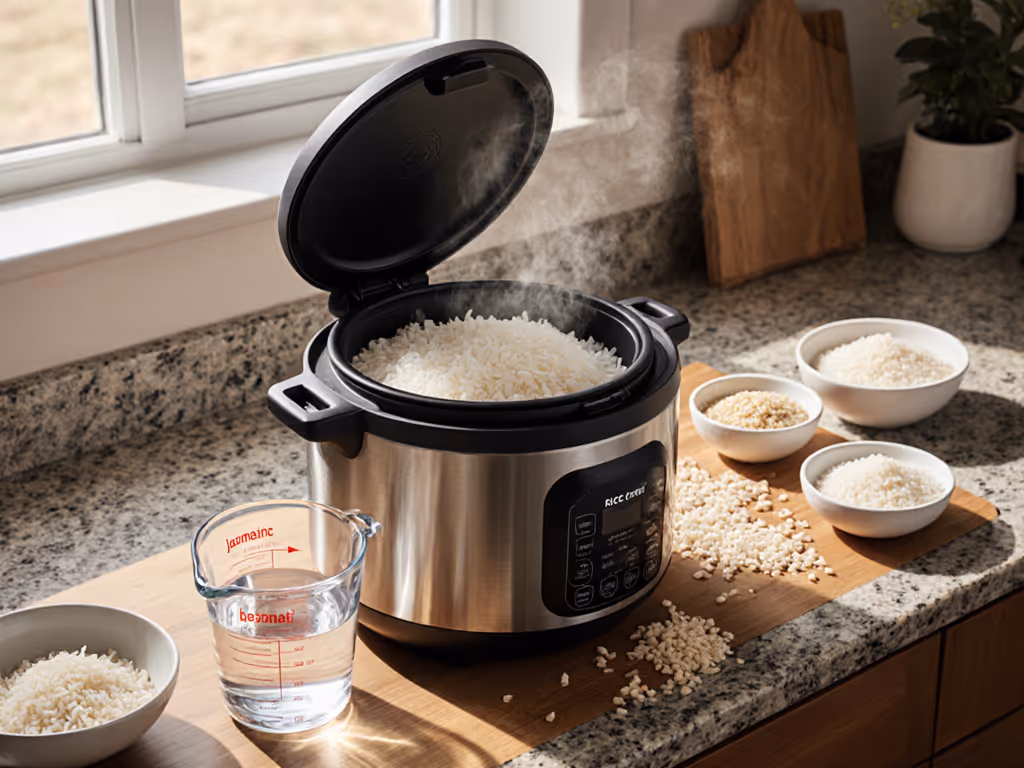
A recent Kitchen Appliance Maintenance Study (2024) found 73% of rice cookers with 1+ year of use showed measurable scale buildup, even in "moderate" water areas. Worst of all? It dulls nuanced grain flavors. Jasmine rice should smell floral, not faintly metallic. Basmati needs nutty depth, not a stale aftertaste. Your rice cooker deserves to deliver that.
Less fiddling, more consistent bowls. Everyday reliability wins dinners.
Before touching any tool:
Tools you actually need:
Skip these: Bleach (attacks rubber seals), steel wool (scratches non-stick), dishwasher (warps plastic parts). Toxic solutions don't equal clean rice.
This method works for all electric rice cookers (Tiger, Zojirushi, Aroma, etc.) with non-stick pots. Time total: 12 minutes active work.
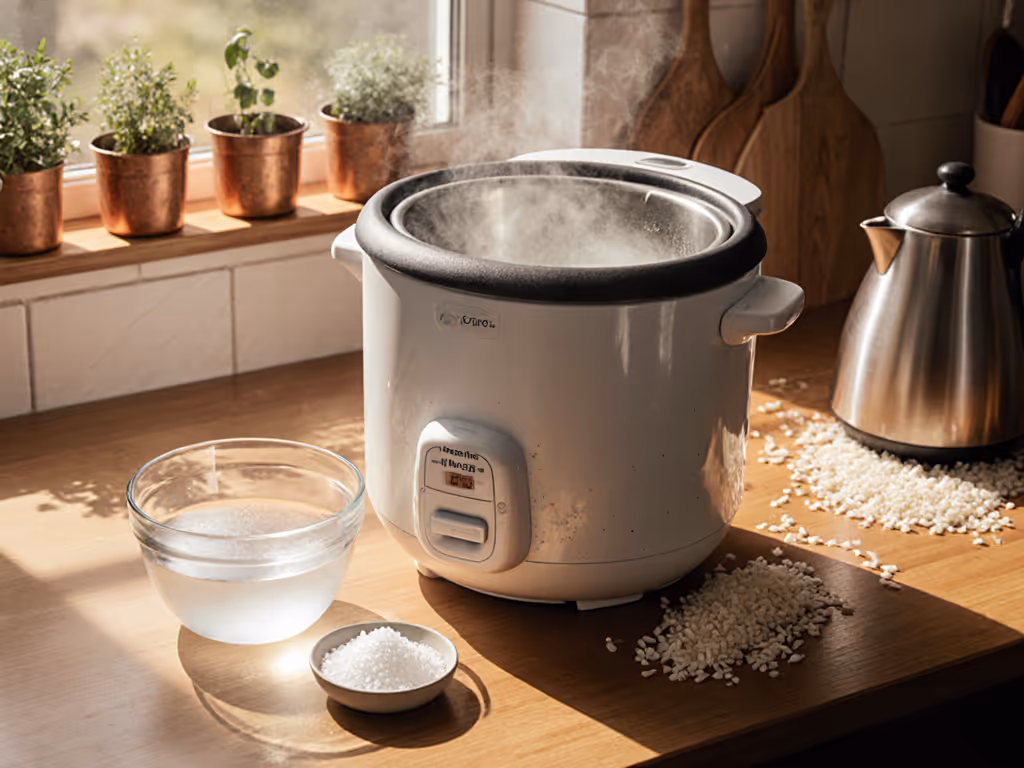
Fill the pot halfway with vinegar or citric acid solution (1:1 vinegar:water or 1 tbsp citric acid per cup water). Soak for exactly 3 minutes, no longer. Vinegar's acidity dissolves scale, but over-soaking degrades non-stick coatings. Pro tip: Set a phone timer. Distraction = damaged pots.
Steam vents clog fastest; this is where "burn" errors originate. Do this every 3rd descale:
Scale traps old rice smells. After rinsing all parts:
Forget monthly calendars. Descaling triggers based on your usage:
Cleanup metric: Track time spent. If descaling takes >15 minutes, your tools are wrong (e.g., stiff brushes = coating damage). My dad's hands shake, so I use only soft sponges and set timers, because when buttons become barriers, simple cleanup preserves independence.
Reliability isn't about fancy features. It's choosing methods where less effort = better results. A vinegar-soaked pot works because it's accessible (no special tools), predictable (3-minute timer), and safe (no fumes). When your rice cooker hums quietly without sticky residue or odd smells, you've earned back mental bandwidth for what matters: that first spoonful of perfect rice. Next, fine-tune texture with our water ratio guide.
This week: Run the odor reset test (Step 5). If water smells stale or leaves a chalky ring, descale now, don't wait for texture issues. Track your cleanup time. If it's under 12 minutes with zero elbow grease, you've achieved set-and-trust. Share your result in the comments: What's the one texture win you noticed after cleaning? (Fluffier jasmine? Crispier tahdig? We see you.)
Remember: A clean rice cooker isn't a chore. It's the quiet promise that tomorrow's rice, like today's, will just work.