Comparisons by Price, Features & Alternatives
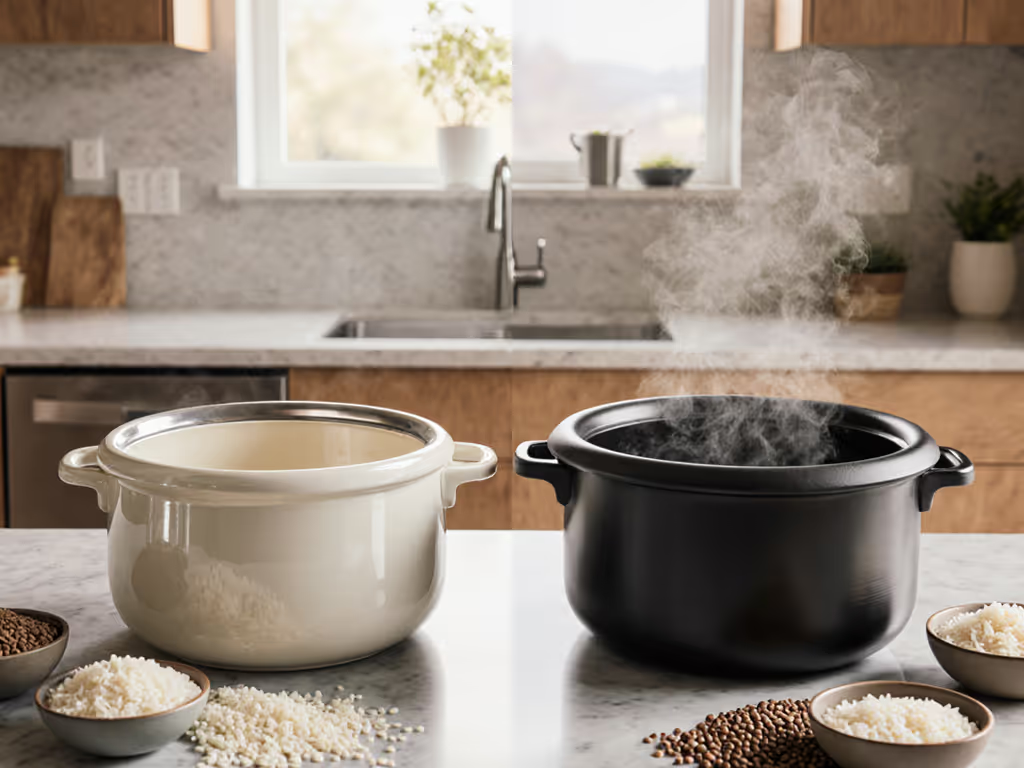
Good Rice Cooker for Hard Water: Automatic Descaling Tested
23rd Mar•8 min read
Winter vegetable cooking in a rice cooker demands precision that most standard recipes overlook. Whether you're working with acorn, butternut, or kabocha squash, the interplay between water ratios, thermal distribution, and vegetable decomposition determines whether your final dish delivers discrete grain structure or a collapsed, sodden mass. This FAQ deep dive examines the materials science and thermal protocols behind achieving repeatable texture across winter vegetable cooking cycles, grounded in tested methodology rather than one size fits all presets.
Winter squash introduces a variable your rice cooker was not calibrated to manage consistently. Unlike the static hydration of grains, diced butternut or acorn squash releases moisture as it softens, typically 8-15 grams of water per 100 grams of tissue depending on cultivar and initial moisture content[1][2]. Meanwhile, rice requires precision within ±0.05 liters per 180 grams of uncooked grain to maintain separated, fluffy kernels or the slight stickiness that defines short-grain integrity[4]. For baseline ratios across cooker types, use our water ratio guide. Add them together, and your cooker's thermal curve (the preset temperature and duration sequence) must accommodate both hydration pathways simultaneously, or one component fails.
Most recipes treat this issue casually: "add water and cook until done." But cross-grain repeatability beats single-setting hype every time for kitchens like ours. The texture outcome depends on how precisely you account for the squash's water yield and adjust the rice-to-liquid starting ratio accordingly.
A: Cube size and drying protocol matter.
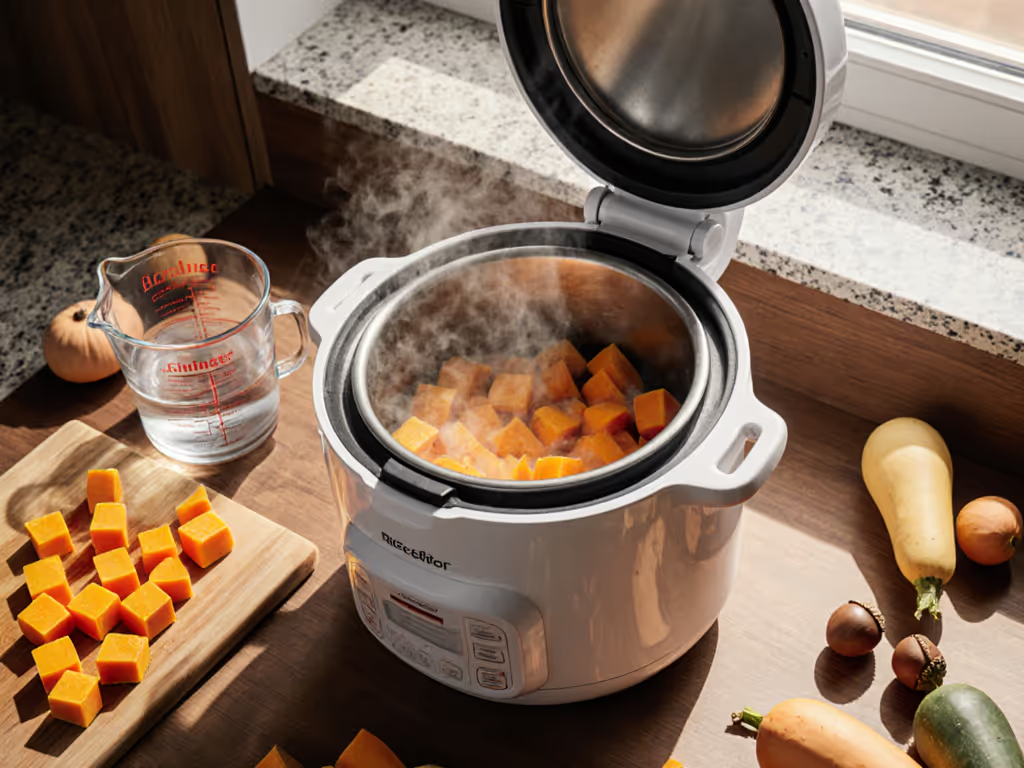
All tested recipes call for 1/2-inch (12 mm) cubes[1][2][3], a standard that balances surface area for thermal penetration against structural integrity during the ~25-45 minute cooking cycle[1][2]. Smaller pieces (1/4 inch) break down into the rice broth and muddy texture; larger pieces remain fibrous and unevenly cooked.
Before adding to your cooker, pat the cubed squash with a lint-free cloth for 2-3 minutes. This removes surface moisture that would otherwise concentrate in the upper layers of the pot, creating a steam-pocket gradient. In cookers without internal thermal sensors that adjust mid-cycle, uneven steam distribution is a primary cause of mushy rice atop and firm squash below, or vice versa[4][6].
A: Apply a stepwise reduction based on squash water yield.
Standard long-grain rice (jasmine, basmati) uses a 1:1.5 mass ratio: 180 grams of rice to 270 milliliters of water. For every 100 grams of fresh diced butternut squash, subtract 5-8 milliliters of water from that base calculation[2][5].
Example calculation for a 3-cup cooker batch:
This assumes you are not precooking the squash. If you sauté the squash with aromatics first (onion, garlic) as in some pilaf or risotto recipes[1][2], you may lose 10-20 ml of moisture to evaporation, so add 10 ml back to your adjusted total[2][5].
Short-grain rice (sushi, Korean, Japanese) and brown rice will require +50-75 ml over the jasmine baseline due to their bran layer and density (see our rice varieties texture guide for details). Test your first batch and adjust by ±10 ml if the final texture is noticeably wet or dry.
A: Equipment thermal protocol and add-in density dictate duration.
Standard induction-heating (IH) and micom (microprocessor) cookers typically complete a brown rice or vegetable heavy cycle in 25-30 minutes[2][4]. Slow-cook or soup functions extend to 45 minutes, using lower sustained heat (approximately 65-75 °C) to prevent starch breakdown and maintain discrete grains[7].
When squash comprises more than 20% of the dish's final mass, the cooker must disperse heat more gradually to soften the vegetable without scorching the rice base. Early recipes (1990s thermal engineering) required 45+ minutes; modern IH models with wide heating plates achieve similar texture in 25-30 by optimizing radiant distribution[4][6]. For a deeper look at the thermodynamics behind these cycles, see starch gelatinization decoded.
Always consult your cooker's manual for vegetable settings, not standard Rice mode. If none exists, use Brown Rice or Cook mode and monitor after 25 minutes; if rice is still firm and there is audible steam, allow an additional 5-10 minutes rather than opening the lid, which disrupts the thermal gradient and prolongs cooking by up to 8 minutes[1].
A: Staged addition and the "6-minute stir" protocol.
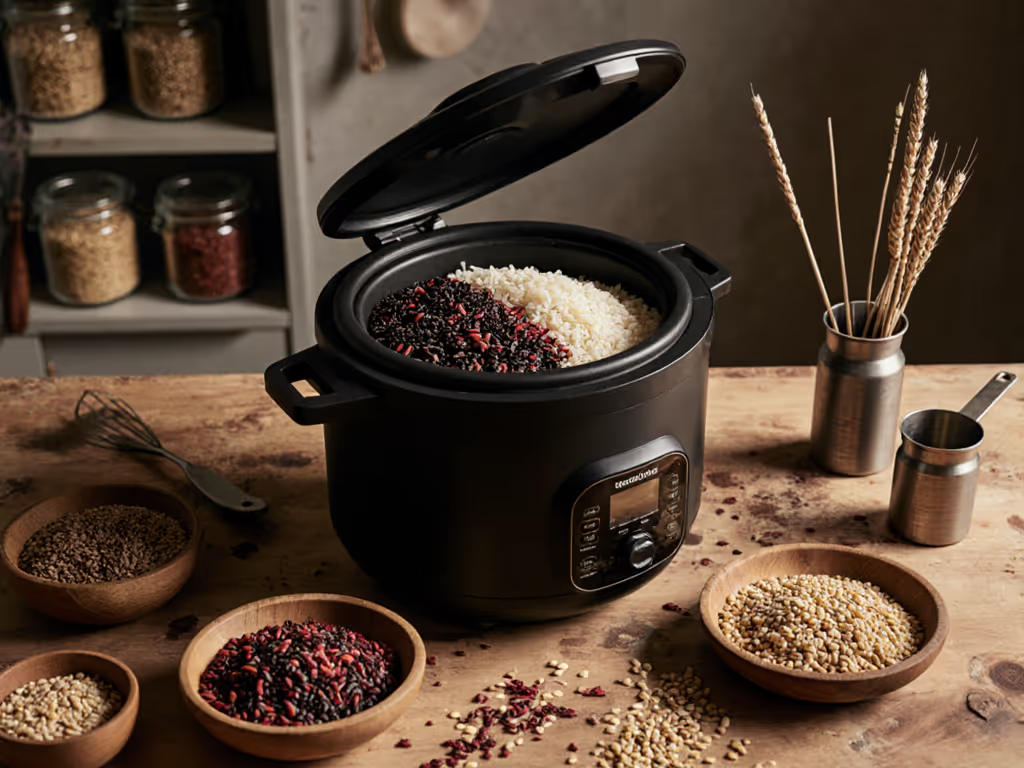
I kept a shelf of jars (millet, Bhutanese red, urad blends, quinoa), then cycled them through thermal maps to see which cookers adapted without babysitting. The one that adjusted after my brief stir at 6 minutes saved energy and kept structure; mixed-grain lunches stopped being experiments and became predictable fuel.
Apply this principle to squash-rice pots:
This staggered approach gives the rice a head start in moisture absorption and gelatinization (about 6 minutes at ~95 °C equilibrium), so the sudden addition of room-temperature squash does not cool the pot significantly. The squash then cooks in a partially hydrated environment where residual steam and latent heat soften its tissue without leaching excess moisture back into the rice layer[1].
Energy wise, this saves approximately 0.02-0.04 watt-hours per cup over recipes that load all ingredients at once, because the cooker does not need to reestablish stable temperature after the lid break[4].
A: Beyond 60 minutes, squash and rice degrade in parallel.
Once your cooker switches to Warm mode (approximately 65-70 °C), the dish remains safe but texture is no longer static. Rice grains lose elasticity and begin to yellow as surface starches oxidize; squash cells continue to soften and may separate from the grain matrix, creating a mushy, soupy layer at the bottom[2].
For maximum texture stability:
If you are meal-prepping or cooking ahead, remove the pot from the cooker after the cycle completes, fluff the contents gently with a fork, and transfer to an airtight container at room temperature within 20 minutes of finishing[1]. This halts the Warm mode dehydration and oxidation.
The workhorse of rice cooker recipes[2][5]. Medium moisture release (about 6 g per 100 g), high starch content (~8%), low fiber (~2 g per 100 g). Cooks soft but holds shape well through standard Cook mode. Water reduction: −6 ml per 100 g[2][5].
Denser, fibrous flesh with lower initial moisture (~87 g per 100 g vs butternut's ~91 g per 100 g). Requires longer thermal exposure to soften evenly. Use Brown Rice or Slow Cook mode (+5 minutes). Water reduction: −4 ml per 100 g[1][3].
Very dense, nutty profile. Often prepared as soup rather than grain component, but when diced for pilaf, it demands the longest cook time (45 minutes slow-cook recommended) and lowest water reduction (−3 ml per 100 g) because its cellular structure resists moisture absorption[7].
Use a digital kitchen scale (±1 gram accuracy, SI units) rather than cup measures for rice and squash. One standard measuring cup of uncooked long-grain rice equals approximately 180 grams; one cup of diced squash varies by density (butternut ~150 g; acorn ~170 g; kabocha ~190 g) depending on cut and packing.
Measure water by milliliters (use a graduated beaker or scale with liquid mode). A 1.5-cup rice cooker holds approximately 375 milliliters of water at the fill line; 3-cup models hold 750 ml. Do not rely on the cooker's internal markings if cooking squash, as they assume grain only content. If mineral content is skewing texture, our hard water rice cooker tests explain adjustments and model picks.
For advanced applications, such as fried rice readiness (day-old texture optimization), brown rice and mixed-grain blends with winter vegetables, and altitude or water hardness adjustments, consider testing your specific cooker model with a baseline batch (rice only, standard water ratio) before layering squash into recipes. At elevation, follow our high-altitude water ratio guide for reliable timing and moisture control. Document the thermal curve (how long the heating plateau lasts, when the switch to Warm occurs) with a simple thermometer or cooker log. This foundation will inform precise adjustments when you expand to cross-grain cooking, ensuring texture repeatability across multiple dishes and variables.
The payoff is moving from recipe following to confident calibration... knowing why a texture outcome occurred, rather than assuming it was luck or your cooker's whim.